

How to Get Started with the ArchestrA Alarm Client Control using Wonderware InTouch
APPLIES TO
- Wonderware Industrial Application Server 3.1 and later
- Wonderware InTouch 10.1 and later
SUMMARY
The ArchestrA Alarm Client is a .NET control used for visualizing and monitoring alarms. It is available in all modern and managed InTouch applications as well as in a Standalone + Symbols application in InTouch 2020 or newer. This document is to help users get started with the implementation of this graphic.
Please note that Industrial Graphics were formerly known as ArchestrA Graphics.
PROCEDURE
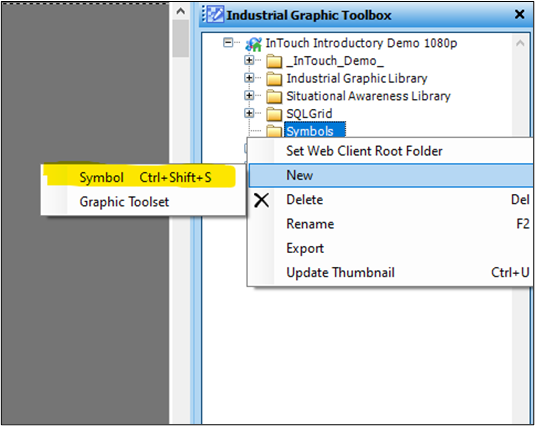
1. The first thing we need to do is create a new ArchestrA graphic. To do so simply right-click on the desired graphic toolset (folder) and select “New->Symbol“.
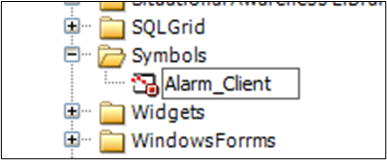
2. When the new symbol is created it is automatically in rename mode. Rename the graphic if you please.
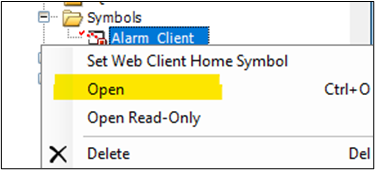
3. To get started on graphical editing, right-click on the new symbol and select “Open“.
4. The Symbol Editor editor will open. From the “Tools” pane select the new “Alarm Client” element as shown below, and then paste it into the window.

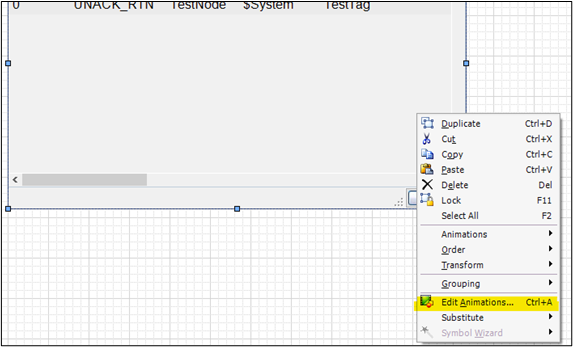
5. Double-click or right-click on the new graphic and select “Edit Animations”
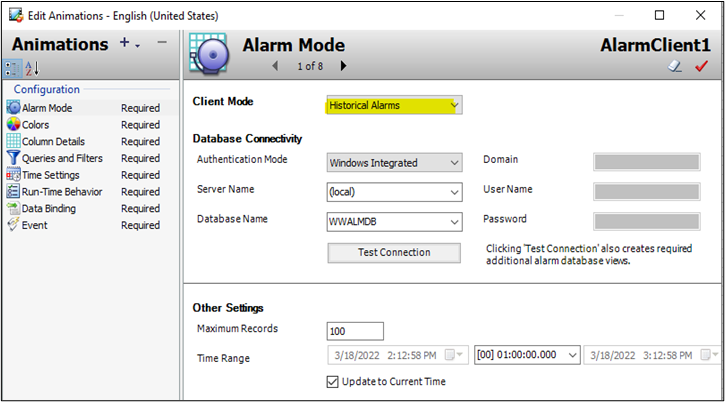
6. The Edit Animations window opens. The first configuration option to configure is the Alarm Mode. By selecting a new Client Mode, you can choose whether to display real-time or historical alarms. By default, the Client Mode is set as Current Alarms. You can configure your alarm query with the syntax “\InTouch!AlarmGroup” for standalone InTouch alarms, or “\Galaxy!AreaName” for galaxy alarms.

7. Below is an example of looking at historically logged alarms and/or events. This will require you to specify a database location with valid connection credentials.
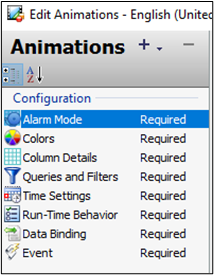
8. Once you have chosen an Alarm Mode, you can configure a variety of other settings such as the Colors, Column Details, Run-Time Behavior, and more options listed in the Configuration
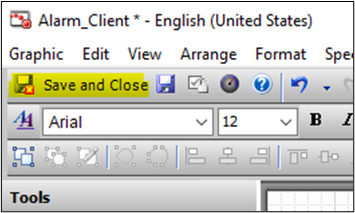
9. Once you have finished configuring the Alarm Client Animations, you can click OK to close the Animations Once finished making any other desired changes in the Symbol Editor, then select the Save and Close button to save your changes and exit.
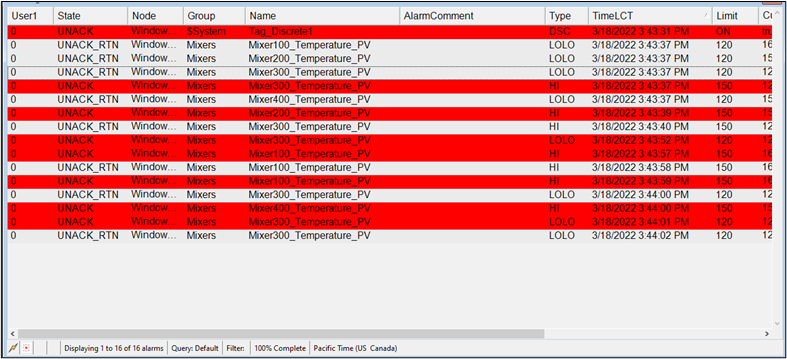
10. Below is an image of the new Alarm Client Control in runtime.
Note: For detailed information about the control, as well as all available methods and properties, please see the “aaAlarmClientControl.pdf” document available in the AVEVA System Platform Installation Media under …\InstallFiles\CD-ApplicationServer\UserDocs\English\aaAlarmClientControl.pdf
All Industrial Software Solutions Tech Notes are provided "as is" without warranty of any kind.