

How to use the $PingNode Object Template in Wonderware Application Server
SUMMARY
This tech note describes how to use a custom $PingNode object template created for AVEVA Application Server. The object provides the ping status for a given machine (node). The $PingNode object template includes the Ping script that can be customized to provide additional features. By default, the enabled object will ping the configured node every 10 seconds and report general status and reply time. It also can be configured to alarm if a ping timeout is incurred. This type of information should be useful for monitoring system health of network hardware and other machines that are not part of the galaxy.
Applies to
- AVEVA Application Server 3.0 or later
Part 1 – $PingNode object template – configuration procedure
1. Download the PingNode.zip file. That file contains the custom $PingNode.aaPKG object template. Extract the aaPKG file to an accessible location.
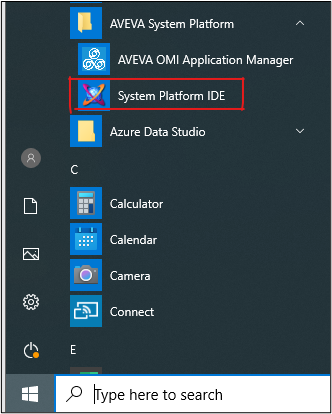
2. Launch System Platform IDE (Integrated Development Environment) by selecting Start → All Programs → AVEVA → System Platform IDE
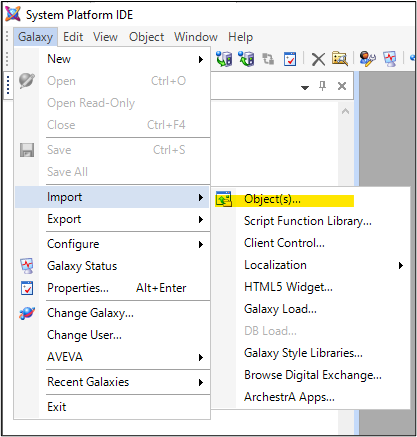
3. Import the $PingNode object template into the IDE by selecting Galaxy → Import → Object(s)… (use default options when prompted during this import).
Navigate to the directory where the $PingNode.aaPKG file was saved and click on Open button.
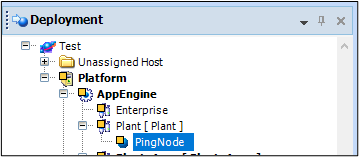
4. After the import completes, there will be a new folder in the Template Toolbox called ‘PacWest’ with a new template called ‘$PingNode‘. Create an instance of the $PingNode object template and assign it to the appropriate area.

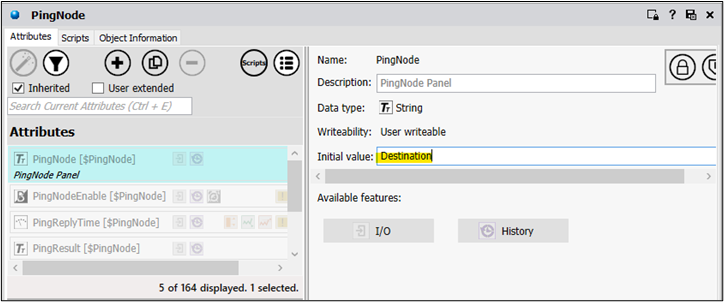
5. Next, open the object instance configuration by double-clicking on it and select the ‘Attributes’ tab.
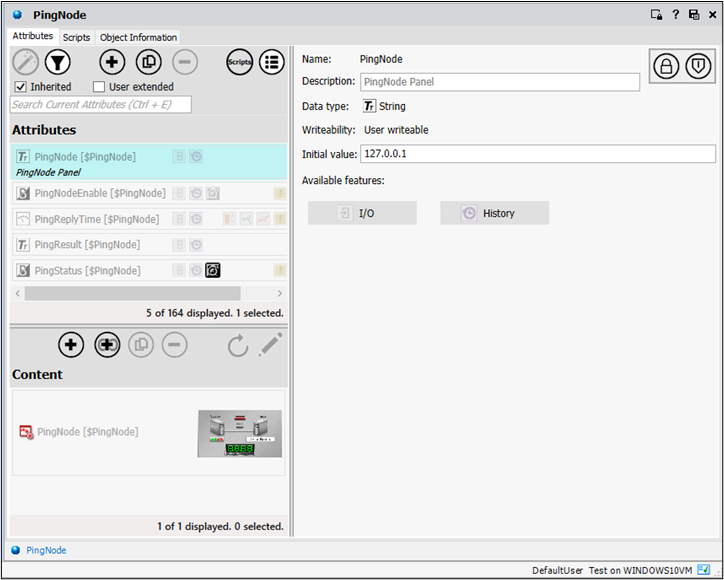
The following object attributes belong to the object:
- PingNode – is the configured node or IP address to ping
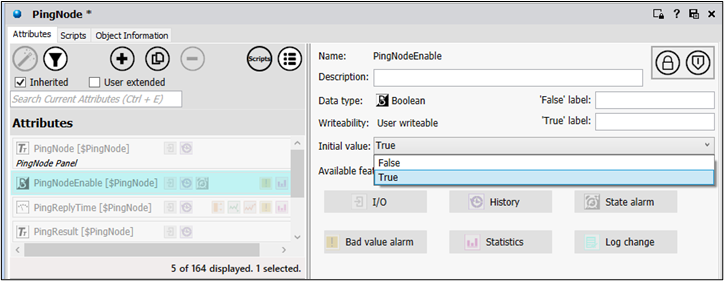
- PingNodeEnable – enables the ping script
- PingReplyTime – shows round trip time in milliseconds [ms]
- PingResult – provides the ping result (e.g. ‘Success’, ‘Timeout’)
- PingStatus – is a Boolean flag indicating the node status
6. Set the PingNode inherited user defined attribute to the name or IP address of the node desired.
7. Next set the PingNodeEnable attribute to ‘True’ (either during development or ‘Runtime’) for the ping script to run.
8.Click the ‘Scripts’ tab to review the ‘Ping’ script and save the changes.
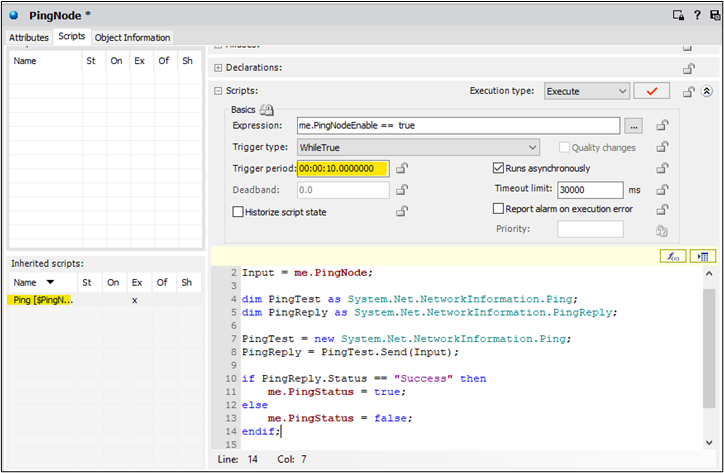
If the ping frequency needs to be changed, modify the ‘Trigger period‘ value of the inherited ‘Ping’ script.
Part 2 – ‘Ping’ script analysis
The available ‘Ping‘ script can be modified within the object template. Below is an analysis of the script and the functions it provides:
“prepare a local variable to contain the value of the target node name
dim Input as string;
Input = me.PingNode;
“declare an instance of the system.net.networkinformation.ping class called ‘PingTest’”
dim PingTest as System.Net.NetworkInformation.Ping;
“declare an instance of the system.net.networkinformation.pingreply class
‘to contain the returned results of the ping
dim PingReply as System.Net.NetworkInformation.PingReply;
‘initialize PingTest instance
PingTest = new System.Net.NetworkInformation.Ping;
‘perform the ping and return results to the PingReply instance
PingReply = PingTest.Send(Input);
‘set the Boolean status of the PingStatus UDA which is used for alarming
if PingReply.Status == “Success” then
me.PingStatus = true;
else
me.PingStatus = false;
endif;
‘set the PingReplyTime (latency) and test Status UDAs
me.PingReplyTime = PingReply.RoundTripTime;
me.PingResult = PingReply.Status;
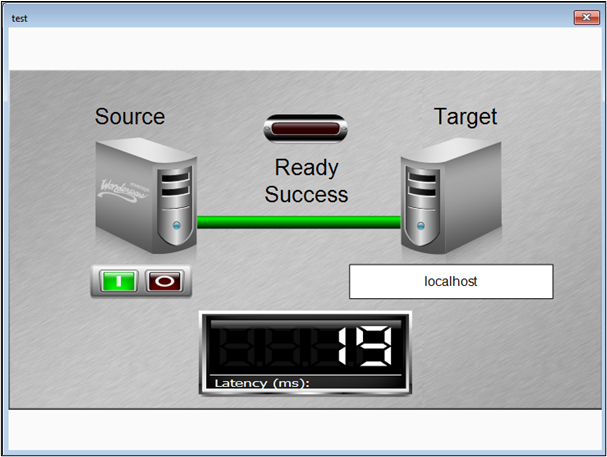
Part 3 – Using PingNode graphic in AVEVA InTouch
Each PingNode object instance includes a graphical status display which can be used in AVEVA InTouch.
9. To use the ‘PingNode’ graphic open AVEVA InTouch WindowMaker and select or create a window to host the graphic.
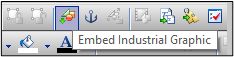
10. Next click on the ‘Embed Industrial Graphic’ toolbar button.
11. Click on the ‘Instances‘ toolbar button in the Galaxy Browser and locate the ‘PingNode’ graphic contained under the ‘PingNode’ instance.
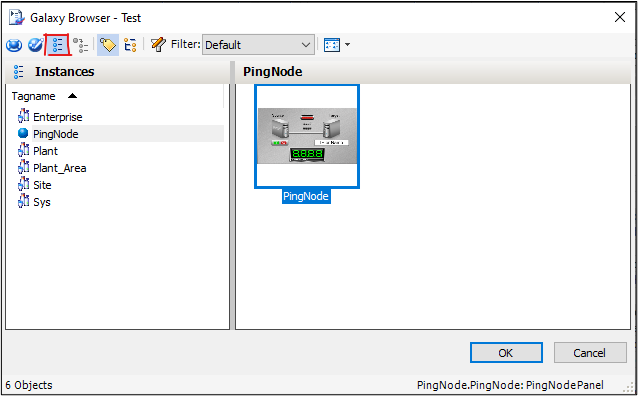
12. Select the graphic and click on the OK button. Next drop the ‘PingNode’ graphic on the appropriate window and switch to ‘Runtime’ mode to test.
All Industrial Software Solutions Tech Notes are provided "as is" without warranty of any kind.