

AVEVA Historian Database Import/Export Utility — How to use the import feature with a manually created Industrial Data Acquisition Service (IDAS)
SUMMARY
It may become necessary for a developer to create an IDAS in AVEVA Historian that views many data points without having an InTouch HMI application to import tags from. This document provides the procedure necessary to utilize the Import Tags feature of AVEVA Historian without an existing AVEVA InTouch application, as well as how to use the AVEVA Historian Server database export/import utility for archiving or troubleshooting.
APPLIES TO
- AVEVA Historian – all versions
PROCEDURE
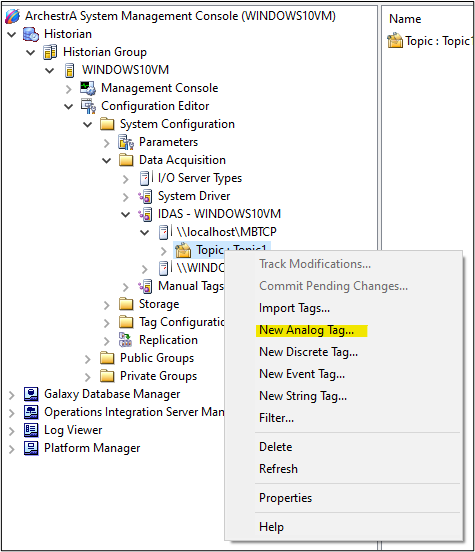
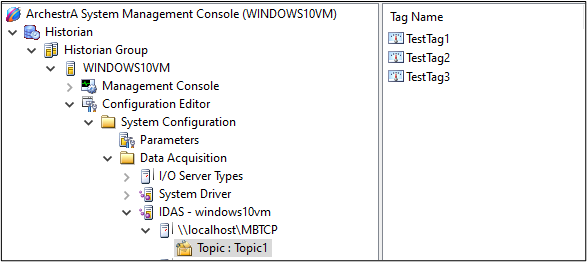
- Create a new IDAS and applicable Topic through the System Management Console. Once you have created your IDAS and Topic information, create a new tag by right-clicking on your Topic and selecting New <TagType> Tag, where <TagType> is either Analog, Discrete, Event, or String.
NOTE: One tag will be created for every “type” of tag you need. For instance, if you need 1,000 analogs, 500 discretes, and 70 strings, then here you would simply create 1 analog, 1 discrete, and 1 string.
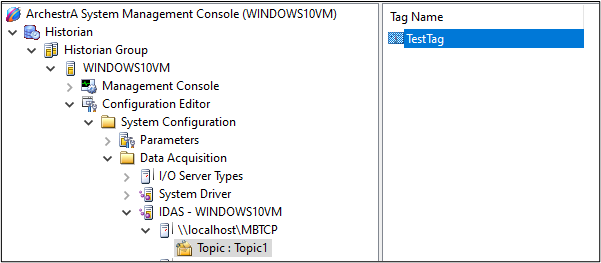
- Once you have created your tag you should be able to view it in the right-hand pane and make any changes necessary before proceeding.
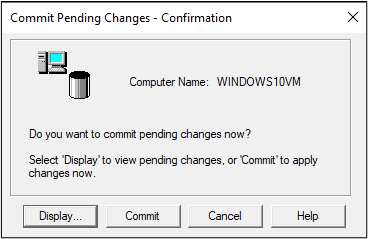
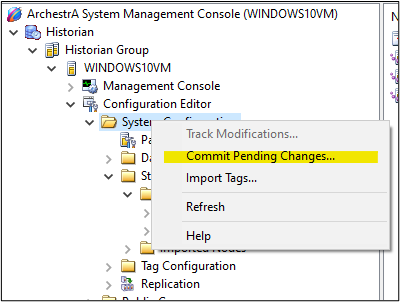
- The next step in the process is to Commit Pending Changes, so that the AVEVA Historian Server database can be properly updated with the new information. Navigate to Action->Commit Pending Changes and click Commit button.
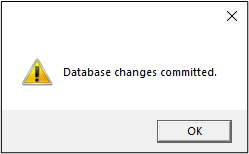
- Click the OK button to continue.
- Now we need to export the Historian Server database. To complete this action, navigate to: Start -> AVEVA Historian -> Database configuration export and Import.
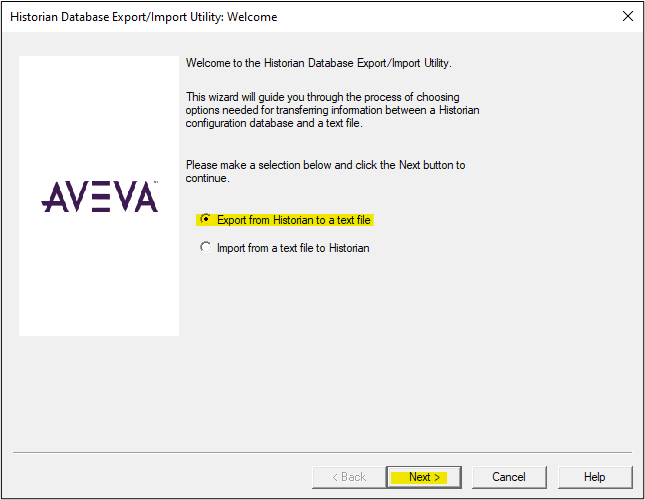
Select the Export from Historian to a text file radio button from the Welcome screen and click Next.
- In the Connect screen enter valid SQL Server or Windows authentication credentials, along with the directory where you wish the exported text file to save to.
NOTE: Make sure that the Export all objects checkbox is checked.
Click Next.

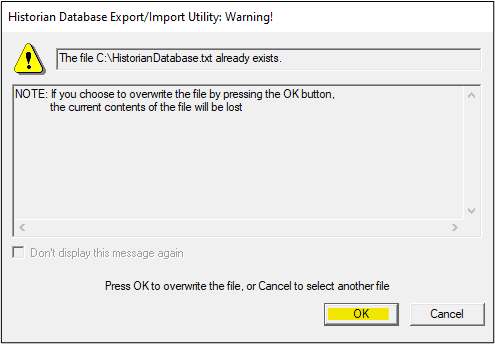
- If you have previously exported a copy of your Historian Server database to the desired directory with the same name, then the following message will be displayed. If not, then proceed to Step 8. If so, then click the OK button to continue.
- The last screen before the action is completed is the Confirm screen. There is nothing to configure here, yet it does give one last opportunity to go back to a previous step before the export is created. Click Next.

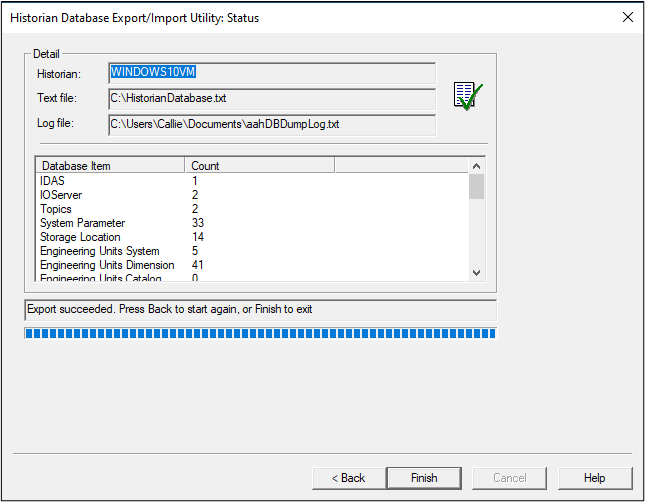
- Once the export file is successfully created click the Finish button to complete the export process.
- Open the export file in Microsoft Office Excel.
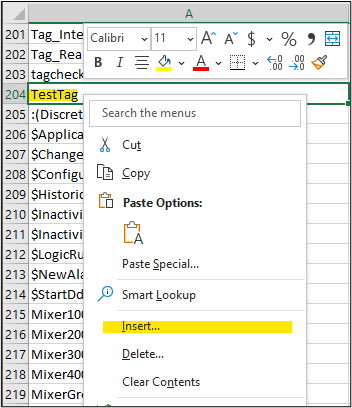
- Locate the newly created tag for your IDAS, and then insert as many lines as needed to add the rest of your tags by right-clicking on the cell below and selecting Insert.
NOTE: Data in the export file is grouped by type. If you need to add discrete tags, then you will need to add them to the :(DiscreteTag) section, for strings it is the :(StringTag) section and so on. Column A contains section names.
- Copy the entire row with the tag created in the System Management Console, and then proceed by pasting it into the new blank rows created in the preceding step.
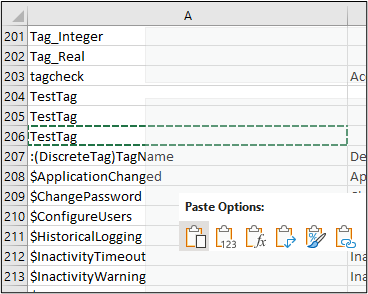
- Modify the name after pasting the original to avoid duplicate tagnames. Here you can also specify different parameters for the copied tags (such as min/max EU).

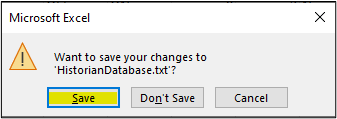
- When finished close Microsoft Excel. You will receive a message asking if you would like to save your changes. Click Yes to proceed. Choose to overwrite the existing file when saving.
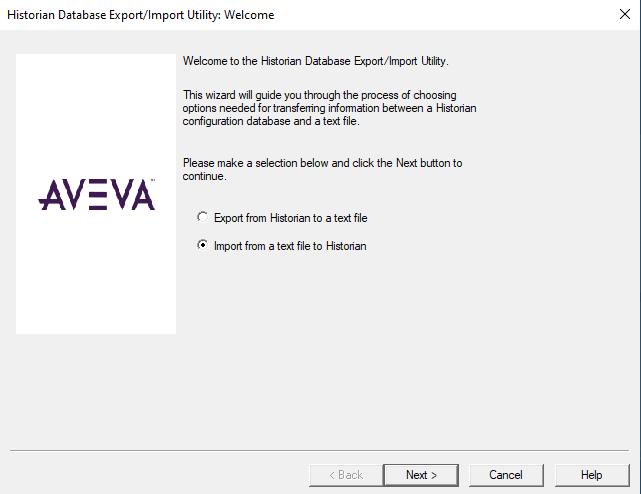
- Begin the import process. Navigate to: Start -> AVEVA Historian -> Database configuration export and Import. Select the Import from a text file to a Historian. Click Next to proceed.
- Enter valid SQL Server or Windows authentication credentials, along with the directory where the text file containing the database is located. Click Next.

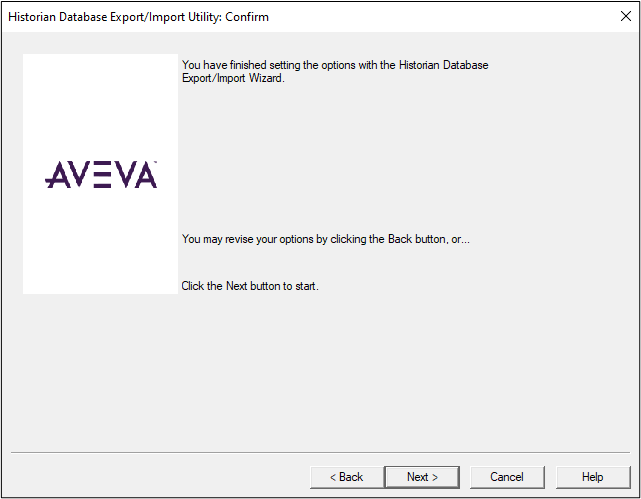
- Click Next in the Confirm screen to continue.
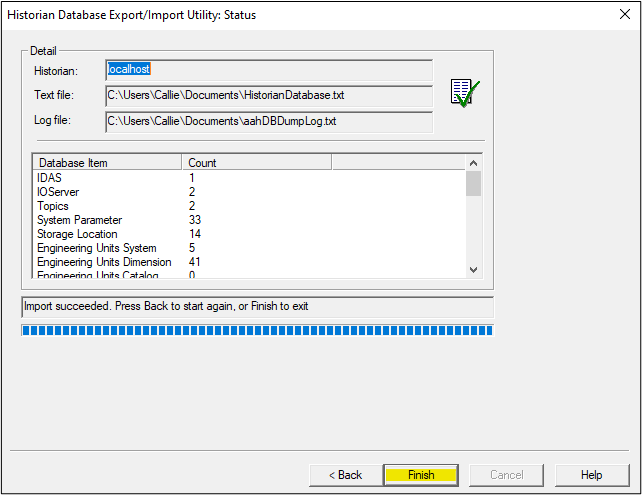
- Once the import has been successfully accomplished the Status screen will have an informational dialog box stating that the Import succeeded. Click the Finish.
- Make sure you Commit Pending Changes.
- Once the pending changes have been committed you should be able to view all of your new tags contained within your Topic.
All Industrial Software Solutions Tech Notes are provided "as is" without warranty of any kind.