

How to modify or review Archestra Login Account
SUMMARY
The ArchestrA Login Account is a designated Windows Login Account that is used by all AVEVA services to perform tasks that require Windows login information (such as creating folders and files, interact with the network, connecting to databases etc.). ArchestrA Login Account is configured during the installation of the first AVEVA software module on a given machine through the Username and Password dialog (the screenshot show sample dialog during Application Server setup procedure):
APPLIES TO
- AVEVA InTouch
- AVEVA Historian Server
- AVEVA Application Server
- AVEVA Historian Client
PROCEDURE
Setting Up a New ArchestrA Login Account
It is recommended to designate a local Windows account (even if the computer is part of a Windows domain). The account doesn’t have to exist at this point. If the “Create Local Account” is checked it will be created automatically and assigned all appropriate permissions. We also recommend to make this account different from local Administrator – this will help keep AVEVA systems and applications running even if the Administrator’s password has been changed.
NOTE: In some specific cases when Windows Domain Policy is enforced or if specific functionality is required, this may not the optimal setting. Please contact Industrial Software Solutions at [email protected] in such cases.
NOTE: To prevent users from using the ArchestrA Login Account to login into the system, you can disable interactive login for the account by setting up local security policy (the key to be modified in Control Panel > Administrative Tools > Local Security Policy > Local Policies > User Rights Assignment > Deny logon locally). You can find more information in Microsoft Windows documentation.
Reviewing or Modifying ArchestrA Login Account
If AVEVA software has already been installed, the ArhcestrA Login Account can be modified or reviewed by using the following procedure:
- Go to the Start > AVEVA > Change Network Account.
- The following dialog box will appear on the screen.
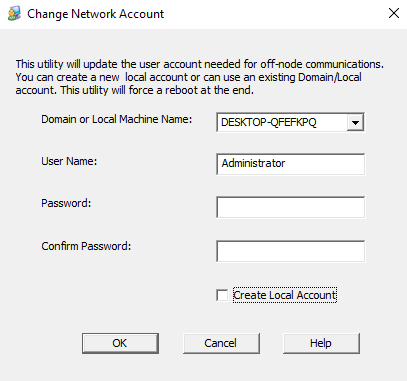
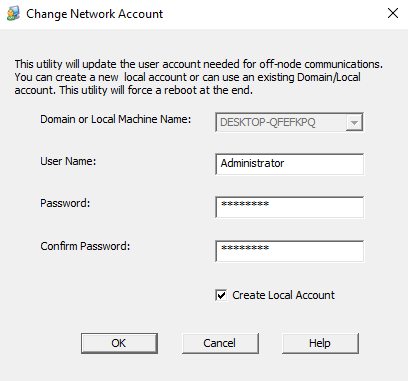
- Make sure Domain or Local name entry is your local computer name. Enter the designated ArchestrA Login Account name under Username, then then associated Password and Confirm Password. If the account doesn’t exist, check the “Create Local Account” box.
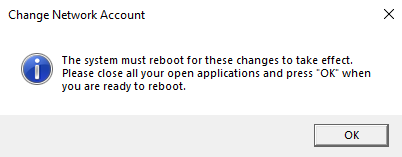
- Follow the prompt shown below to restart the computer.
Note: if your Wonderware application consist of several nodes, all of them should have the same Archestra Login Account set up. That is, all of them should have the same local login account created with the same password.
All Industrial Software Solutions Tech Notes are provided "as is" without warranty of any kind.